Sprint 0 - Getting Started with MonoGame
Due: BEFORE Sep. 5, 11:59:59 pm
This is an individual assignment to get everyone accustomed to using Visual Studio, C#, MonoGame, and designing objects and interfaces. Advanced students may also make use of the Command design pattern. The core requirements for this Sprint are input handling, content loading, sprite drawing, and the MonoGame basic game loop
Step 1) Software setup:
It is strongly recommended to set up your own machine with the software used in this course. We'll be using Visual Studio 2017, which runs best on Windows. There is a version for Macs, but it relatively new. Virtual machines are an option but tend to be slow, using a second partition for Windows is recommended if you don't have a Windows PC already.
Go through the tasks to install MonoGame on your own machine (this may take several hours due to file sizes and configuration time):
If completed successfully, you should be able to see project templates for MonoGame under Visual C# after selecting File->New->Project.
- Install Visual Studio 2017 (ECE students may need to use this link. You should have received an email with log-in information around the time of being accepted into the major. The username should be your osu name.#, but the password is NOT connected with the OSU identity management system. Look for the email for your default password. The Enterprise version of Visual Studio will be used for its agile project management tools - versions differences are listed here.
- By default the installer doesn't include much and you will have to select a few "workloads" or "individual components" to have all of the features we use. Select:
- Universal Windows Platform development
- .NET desktop development
- Visual Studio extension development
- Install the latest public release of MonoGame (3.6).
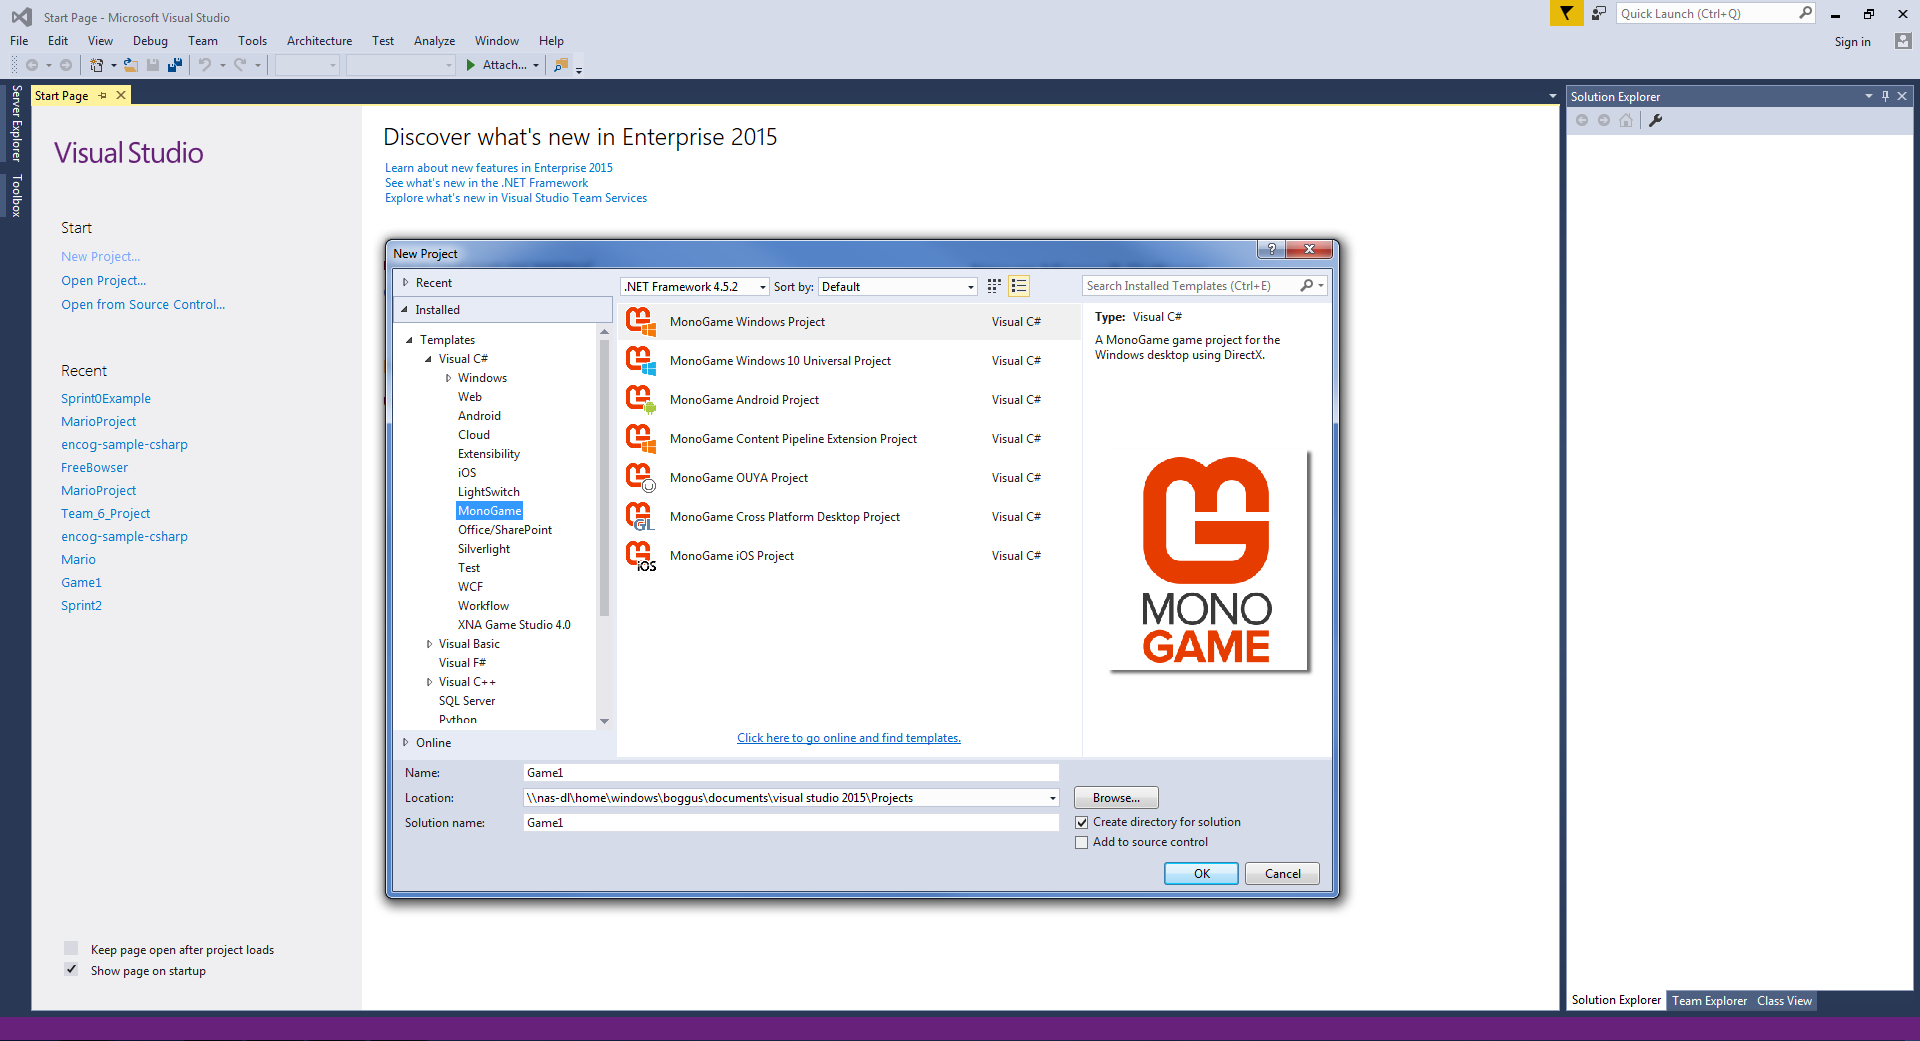
In Visual Studio with the new project wizard open, your screen should look something like this image.
Other setup notes:
For those using the Caldwell Labs (112 and 112D), VS 2017 should already for installed and configured to support MonoGame. For those running Windows as a virtual machine or for those with older laptops, you may need to change some settings if you get an error "no suitable graphics card found" when trying to run your executable. Instructions on that can be found here under the heading Handling the HiDef Profile Error (HiDef Profile vs. Reach Profile)Step 2) Working with Monogame - tutorials
After setting up the development environment, go through the following Monogame tutorials
- Monogame - Introduction To 2D Graphics (5 minutes)
- Creating Your First MonoGame Project (10 minutes ; note that working with VS2015 will look slightly different but the process is the same ; also note that students have reported problems running the content building tool with 32-bit versions of operating systems)
- Managing Content (5 minutes)
- Monogame Spritebatch Basics (10 minutes) ; here Spritebatch.Draw is used to draw the entire contents of an image file for non-animated sprites
- Texture Atlases - Part 1(note this has 3 parts - 20 minutes) ; here Spritebatch.Draw is used to draw sub-rectangles of content in an image file for animated sprites. While not the simplest example of how to animate sprites this has everything you'll need. Please read through the details carefully as you'll need to modify the code to work with other sprite sheets.
Older XNA tutorials (for your reference)
- Your First Game - XNA Game Studio in 2D
- Writing Game Code
- Initializing, Updating, and Exiting a Game
- Displaying Graphics
- Rendering 2D with Sprites and Text
- Responding to User Input
- Overview of User Input and Input Devices
- Working with Text and Keyboard Input
- Working with Xbox 360 Controllers
Step 3) Programming Activities
Your assignment is to implement a very simple interactive program. At run-time, the user should be able to interactively select between display of a motionless and non-animated sprite (ex: mario standing still), a motionless and animated sprite (ex: mario running in place), a moving and non-animated sprite (ex: dead mario floating up and down), and a moving animated sprite (ex: mario running right and left).The user should also be able to quit the program with a key press. One significant purpose of this assignment is to gain experience using interfaces (designing them, implementing them, and using them). Carefully read and follow these requirements:
- For input keys/buttons, use:
- Have a key (q) and gamepad button (start) that quits.
- Have a key (w) and a gamepad button (A) that has the program display a sprite with only one frame of animation and fixed in its (x,y) position on screen.
- Have a key (e) and a gamepad button (B) that has the program display an animated sprite, but fixed in its (x,y) position on screen.
- Have a key (r) and a gamepad button (X) that has the program display a sprite with only one frame of animation, but moves the sprite up and down on screen.
- Have a key (t) and a gamepad button (Y) that has the program display an animated sprite, moving to the left and right on screen.
- Note on input: you may not be able to physically test the GamePad code, but you still have to write the code for one. I'll keep in mind the lack of testing capability when grading.
- Create some interfaces:
- Create an interface for any and all controllers, IController.
- Create an interface for sprites, ISprite.
- Optionally, using the Command Design Pattern, create a ICommand interface.
- Then make some concrete classes that implement the interfaces:
- Implement a concrete class for a Keyboard controller.
- Implement a concrete class for a GamePad controller.
- Implement a concrete class for the non-moving non-animated sprite.
- Implement a concrete class for the non-moving animated sprite.
- Implement a concrete class for the moving but non-animated sprite.
- Implement a concrete class for the moving and animated sprite.
- If you made an ICommand interface, implement a concrete class for each Command the user can trigger: one for each different sprite that can be set and one to quit the game.
- Finally, in the main game class, use the interfaces to animate/update the current sprite. If you are not using commands you will also need logic to switch between sprites and quit in the main game class (or in the concrete controllers).
- Design suggestions:
- Include a Dictionary in the Keyboard (and GamePad) controller class that maps keys (buttons) to concrete instances of ICommands (based on the input keys/buttons listed above).
- In the Update method of the controllers, for each input key/button that is pressed, create and execute its corresponding Command.
- Alternatively, for the controller code if you are not using Commands, consider splitting up input logic into multiple classes (in this case QuittingController and SpriteSettingController)
- In the Game (main) class, only use the interfaces in the Update and Draw methods.
Resources:
- You can find spritesheets for Super Mario Bros. off of links on the mario resources page. Many spritesheets do not have uniform spacing between sprites, so if you want to directly apply the programming logic from the tutorials above, you will need to modify (using Paint, GIMP, Paint.NET, Photoshop, etc.) a spritesheet OR alter the logic for setting coordinates for sprite drawing (this will be discussed in class).
- Feel free to use other sprites, if you're unsure if they fit the requirements, just ask. About the only sprite sheet you should not use is the one found on the last tutorial page (http://rbwhitaker.wikidot.com/monogame-texture-atlases-1) as using this sprite sheet does not demonstrate that you fully understand how to specify source rectangle coordinates.
Work to turn in:
- Do a Build->Clean Solution in Visual Studio and without rebuilding, create a .zip of your Entire project directory (Make absolutely certain your .zip contains the .sln and the Content hierarchy).
- It is recommended that you unzip the file elsewhere, then build and run it to see if it is working correctly.
- Next perform a Build in Visual Studio; you will now add the bin directory (Debug or Release) and its contents to the zip file. Make SURE you independently verify the bin folder is complete and your submission will RUN!
- Upload the .zip using Canvas under the dropbox for Sprint 0.
- The dropbox is set up to accept multiple submissions, only the latest submission before the deadline will be graded.
- Start early and do not wait until the last minute to submit work!
- Please let the instructor know if you have any difficulties submitting your work.
Grading Criteria:
- Correctness (does it work) - 40%
- Non-Moving Non-Animated Sprite -- 5%
- Non-Moving Animated Sprite -- 5%
- Moving Non-Animated Sprite -- 5%
- Moving Animated Sprite -- 5%
- Keyboard Input -- 10%
- Gamepad Input -- 10%
- Additional Features Bonus -- 0
- Code quality (are the interfaces designed and used correctly and is the code readable, maintainable, reusable, and can it be modified easily) - 60%
- IController – 5%
- Controllers -- 15%
- ISprite – 5%
- Sprite Classes – 15%
- Overall – 20%
- The interfaces should be complete, but as simple as possible.
- Interface, class, and variable names should follow C# naming conventions. Follow capitalization rules here. No need to use '_' for private members.
- Use meaningful names for interfaces, classes, and variables. See: Chapter 2 from Clean Code
- Interfaces should be complete, but as simple as possible and used in place of concrete types
